
How to Use Cloth Diapers
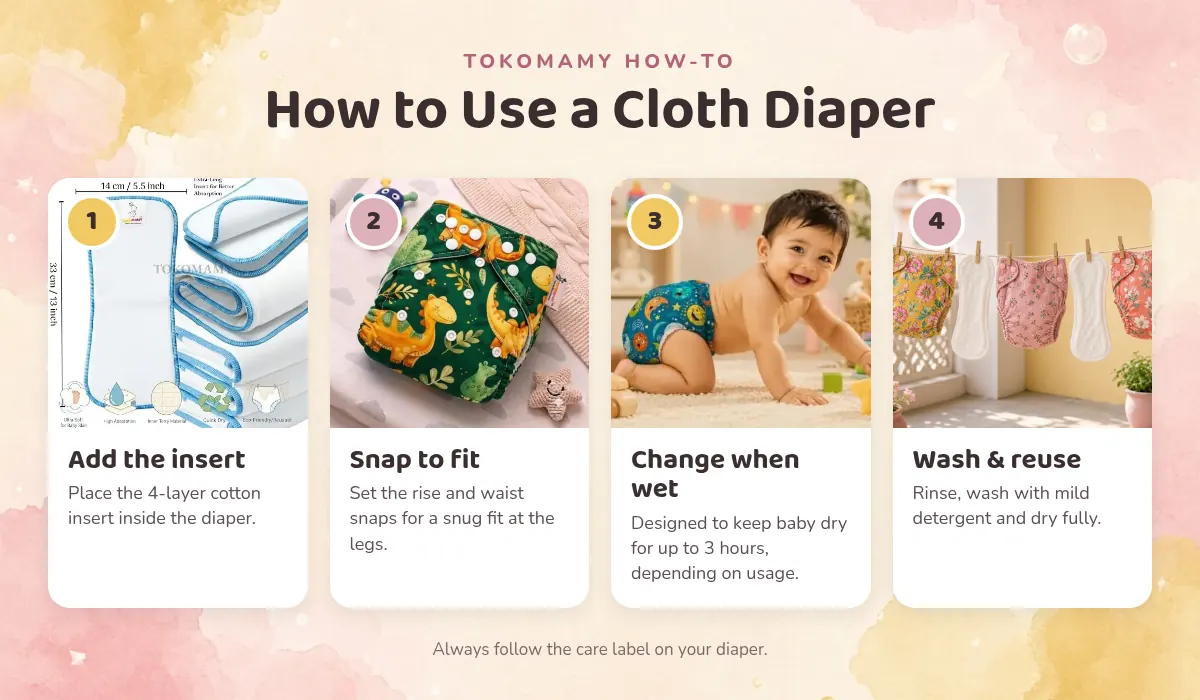
Putting on a cloth diaper takes less than a minute once you know the steps. Here is how to prepare, fit and change a TOKOMAMY diaper.
Before the first use
Wash new diapers and inserts before your baby wears them. Cotton inserts usually become more absorbent after a few washes.
Step 1: Add the insert
Place the 4-layer cotton insert inside the diaper, flat and smooth. Make sure no part of the insert sticks out past the edges of the waterproof shell.
Step 2: Set the rise
The snaps on the front panel adjust the rise (the height of the diaper). Use a smaller rise for younger, smaller babies and open it up as your baby grows.
Step 3: Fasten the waist
Lay your baby on the open diaper with the back at waist level. Bring the front up between the legs and fasten the waist snaps so you can slip one or two fingers in at the tummy.
Step 4: Check the legs
Run a finger around each leg opening. The elastic and leak guards should sit in the crease where the leg meets the body, not on the thigh. That seal is what helps stop side leaks.
Tip: For baby boys, point downwards before closing the diaper so liquid goes into the thickest part of the insert.
When to change
Change as soon as the diaper is soiled and when it feels wet. The TOKOMAMY insert is designed to keep baby dry for up to 3 hours, depending on usage. For longer stretches, many parents add an extra insert or booster.
After the change
- Remove the insert from the diaper.
- Shake any solids into the toilet and rinse in cold water.
- Store in an open, airy bucket or a breathable wet bag until wash day.
Then follow our washing routine.
Ready to try cloth?
Explore TOKOMAMY reusable cloth diapers: singles and value packs of 2, 3 and 4.